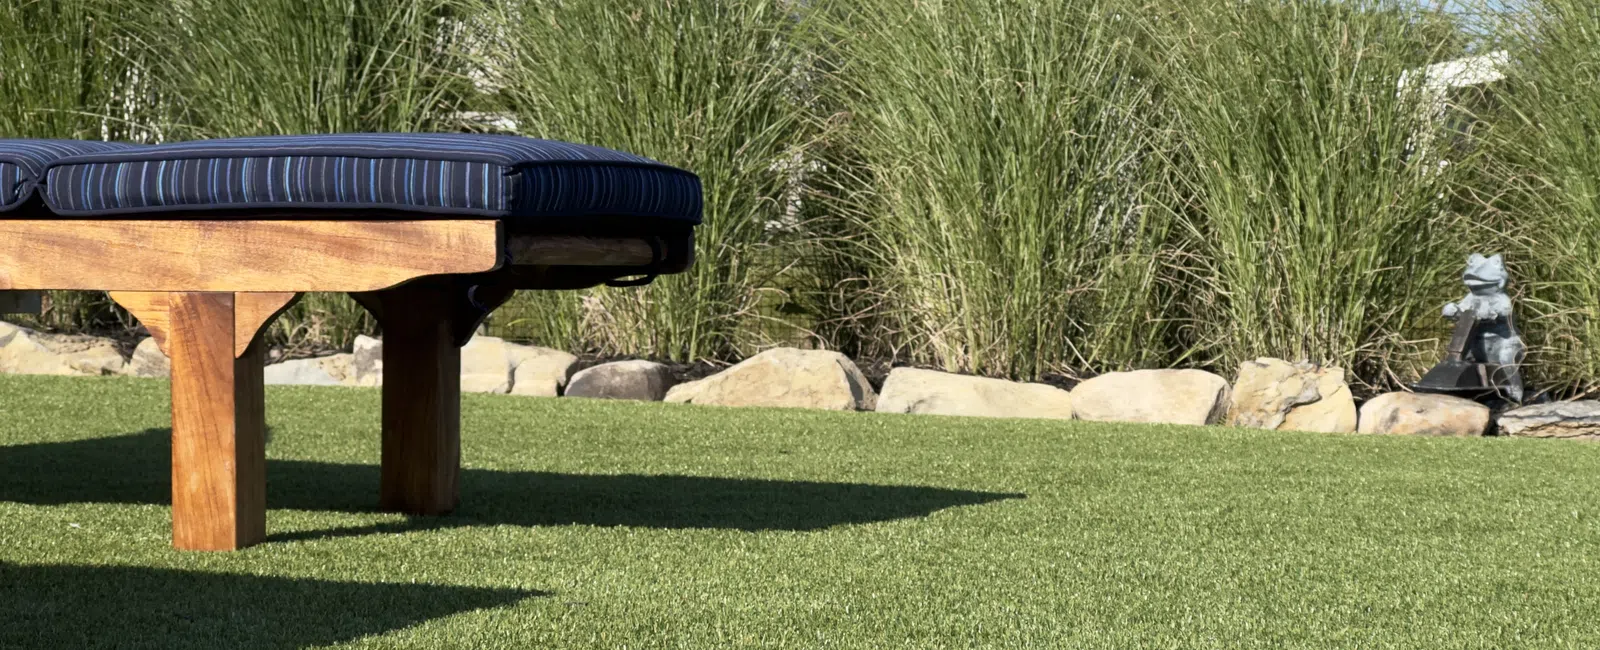
A small yard, narrow side passage, compact courtyard, or townhome patio can benefit from artificial turf just as much as a sprawling suburban lawn. In many cases, smaller spaces benefit even more because every square foot is visible and actively used.
The good news for DIYers: those same qualities that make compact areas appealing also make them manageable weekend projects. Tight angles, irregular layouts, and nearby hardscape do mean you need to work with more precision than you would on a huge lawn, but the smaller the footprint, the less material, labor, and time the whole project takes. Here's how to do it right, step by step.
Step 1: Plan Your Layout Before You Cut Anything
Before you unroll a single piece of turf, spend time planning orientation and seam placement. Turf has a grain direction, and if you lay pieces with inconsistent orientation or misalign them against the main viewing angle, the finished surface will look unnatural. Minor grain variations are easy to miss on a large lawn, but they'll stand out immediately in a small space.
If your project requires more than one piece of turf, plan your seams for low-traffic areas and keep them out of your main line of sight — for example, near a fence line rather than dead center in a patio. Sketch your layout on paper first, noting where the grain should run and where any seams will fall, so you're not making these decisions on the fly.
Take the time to get this right before cutting. It's the single biggest factor in whether your finished project looks clean and seamless or patchy and DIY in the wrong sense.
Step 2: Prepare the Base
You likely won't have room for heavy machinery in a narrow side yard or courtyard, and that's fine; most of this work can be done by hand with basic tools (a shovel, a rake, a hand tamper or plate compactor you can rent, and a level).
The process is the same regardless of size:
- Excavate the area to the proper depth (typically 3-4 inches).
- Remove existing grass, roots, and debris completely.
- Add and compact the correct aggregate base material in layers, don't dump it all in at once and compact it a single time. Compacting in 2-inch lifts gives you a much more stable base.
- Grade and level the surface, building in a slight slope (roughly 1-2%) away from structures for drainage.
Don't be tempted to skip or rush these steps because the area is small. A soft spot, drainage issue, or uneven section will show up within a year or two no matter how small the space is and it's much harder to fix after the turf is down than before.
Step 3: Install Edging and Borders
In a small space, your edges do a lot of visual work. On a large lawn, the eye moves across the whole landscape and borders fade into the background. On a compact patio or courtyard, the transition between turf and the surrounding hardscape or planting beds becomes one of the most noticeable design features so it's worth getting right.
Install nailer board or metal/plastic edging around the full perimeter before laying turf. This gives you a crisp, defined line and something secure to fasten the turf to. Avoid the temptation to just fold turf edges under or leave them loose, unsecured edges look unfinished and tend to lift over time, especially with the freeze-thaw cycles common in the Northeast.
Step 4: Choose the Right Pile Height
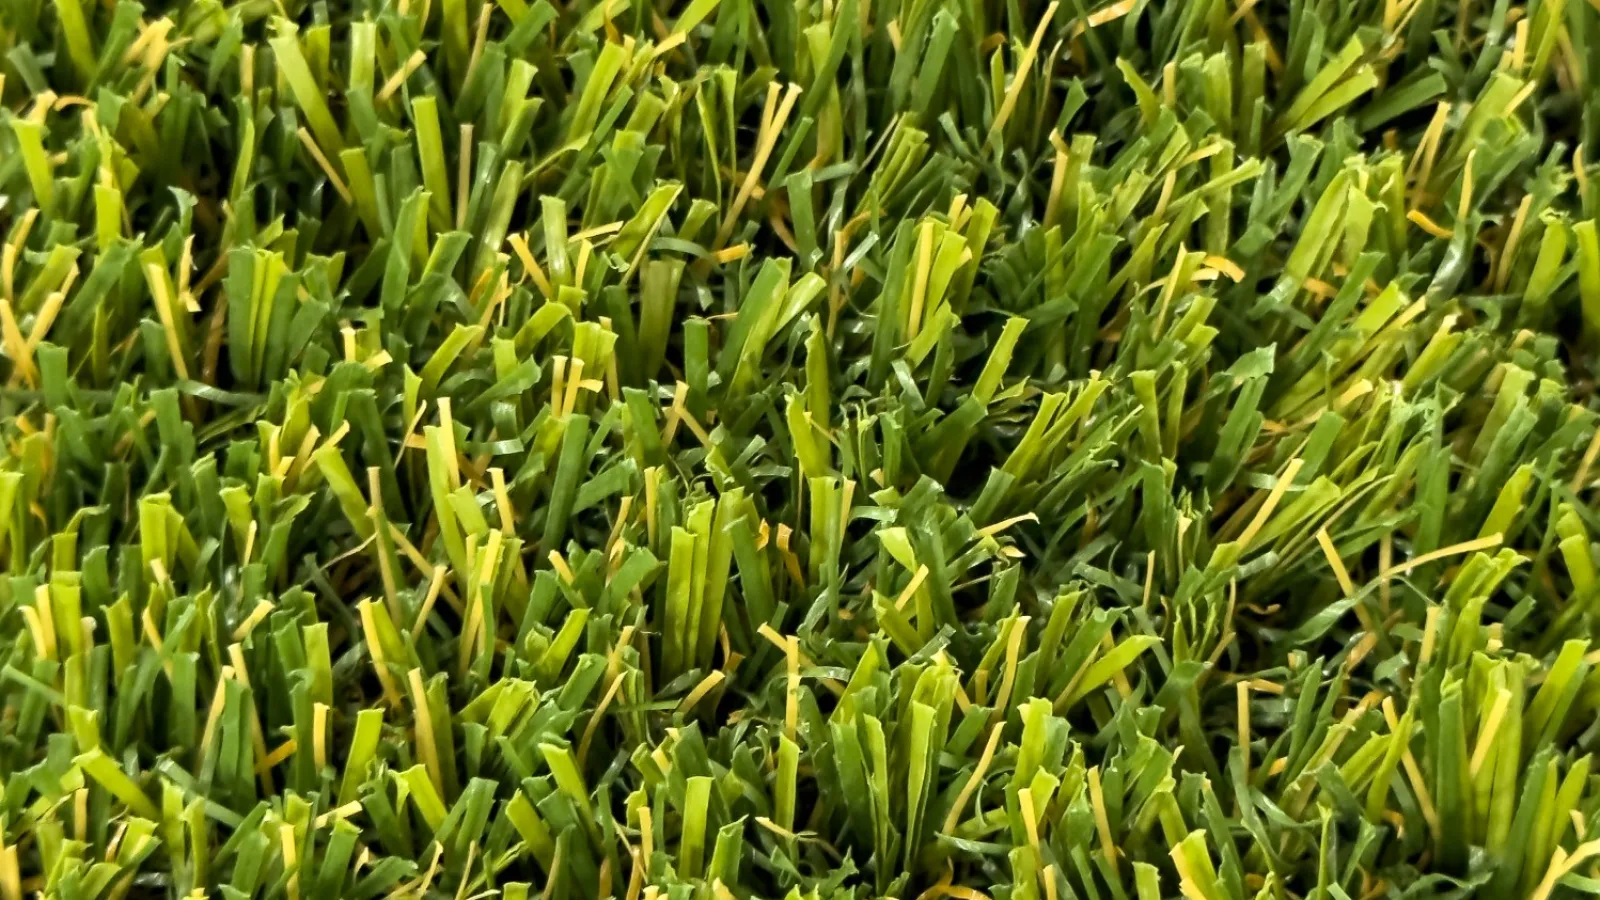
In a small space, a very tall pile height can look heavy and overgrown rather than lush. A medium pile height in the 1.5 to 1.75 inch range generally works best for compact residential areas, it reads as natural and well-kept without looking like it belongs on a sports field.
The right product for your project depends on how you'll use the space, how much sun it gets, and the look you're going for. If you're shopping for turf, ask about products engineered for landscape use in your climate. For Northeast conditions specifically, look for turf built to hold its color and texture through cold winters and humid summers, such as our Hampton or Allure styles.
Step 5: Cut and Fit Around Irregular Shapes
Small spaces are rarely perfect rectangles. If you're dealing with an L-shaped side yard, a curved patio edge, or obstacles like trees, drains, or posts, this is the step that requires the most patience.
A few tips for a clean result:
- Dry-fit before you cut. Lay the turf loosely in place and let it acclimate for a few hours before making permanent cuts.
- Cut from the back. Use a sharp utility knife and cut from the underside of the turf, following the backing rows as a guide, so you don't cut through face fibers.
- Go slow around curves and obstacles. Make small relief cuts around posts, drains, or irregular edges rather than trying to cut the whole shape in one pass.
- Test-fit as you go. Check each cut section before moving to the next rather than cutting everything up front.
It pays to measure twice and cut once. If a section doesn't sit flat, lift it and check your base underneath before assuming it's a cutting issue.
Ready to Get Started?
A well-planned, well-prepared small-space turf installation can look every bit as polished as a professional job, it just takes patience and attention to detail at each step. If you're ready to tackle your own project, reach out to our team. We can help you choose the right product for your space and climate, and answer any questions as you go.