Whether you're a landscaping contractor adding synthetic turf to your service menu or a homeowner tackling a backyard project, the installation process is straightforward, provided you use quality materials and follow the right sequence. This handy guide walks through each phase and highlights where your material choices make the biggest difference.
Step 1: Plan and Measure Accurately
Before ordering materials, measure your space carefully and account for any irregular edges or obstacles. Keep in mind, there will be waste from trimming and ensures you have matching material on hand if touch-ups are needed later. Address any drainage issues or significant grading problems before purchasing, since no amount of quality turf compensates for a poorly prepared site.
Step 2: Excavate to the Right Depth
Remove existing grass, vegetation, and 3 to 4 inches of soil. This is the critical step that determines long-term performance. The excavated space accommodates your base material and prevents the finished surface from sinking or shifting over time. Maintain a gentle slope away from structures to ensure proper water runoff.
Step 3: Choose and Compact Your Base Material
This is where material selection matters most. A crushed aggregate base, like bluestone, compacts tightly and drains well. Spread it evenly, then compact with a compactor until the surface is firm and level. A poorly compacted base is the single most common cause of turf problems after installation: depressions form, seams become visible, and the surface stops draining correctly. Don't cut corners here.
Step 4: Roll Out and Cut the Turf
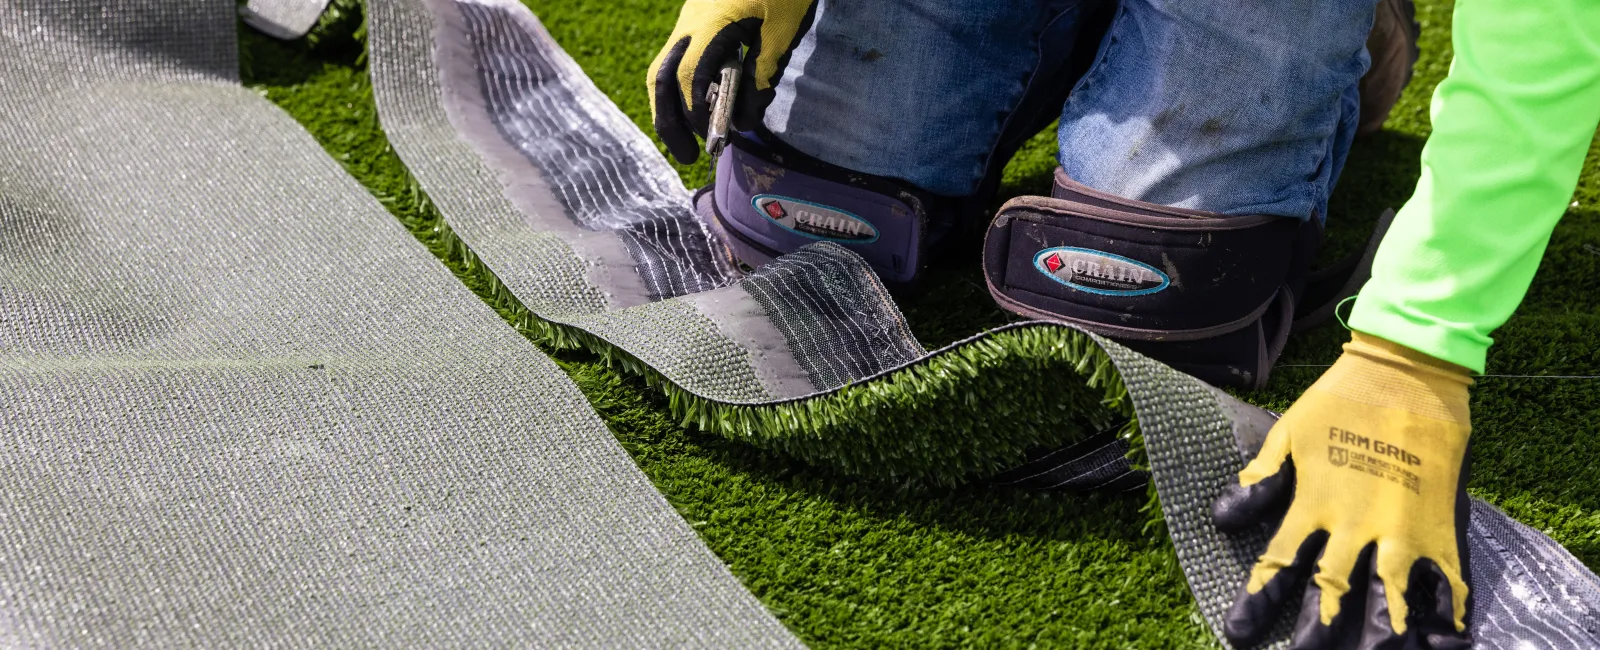
Unroll your turf on the prepared surface and let it rest for about 30 minutes before cutting. This allows the material to relax and flatten, which makes trimming and fitting significantly easier. Use a sharp utility knife and cut from the backing side for clean, straight lines.
One important note on pile direction: all sections should run the same way. Check the grain of the fibers before you cut and position each piece.
Step 5: Seam Multiple Sections Properly
For areas larger than a single roll, seaming is where amateur installs visibly fall apart. Lay sections with the seam edges butted tightly together and fibers running the same direction. Use quality seam tape and a high-strength turf adhesive. Press seams firmly and allow full cure time before heavy foot traffic.
Step 6: Secure the Perimeter
Drive galvanized sod staples or nails every 4 to 6 inches around the entire perimeter and along any seams. Galvanized hardware is non-negotiable; standard steel corrodes and compromises the hold over time, particularly in climates with regular rain or irrigation. Securing the perimeter prevents lifting, edge curl, and wrinkling, especially in high-wind areas.
Step 7: Apply Infill
Infill is what gives installed turf its feel, stability, and drainage performance. Quartz sand is our preferred choice. Spread it with a broadcast spreader, then work it into the fibers with a power broom. The goal is even distribution across the entire surface, with fibers standing upright and infill settled into the base of the pile. This step also significantly extends the turf's lifespan by reducing fiber stress from foot traffic.
Step 8: Final Inspection and Cleanup
Walk the entire installation and check for uneven areas, edge gaps, or sections where infill needs to be redistributed. Minor adjustments are easy at this stage and much harder after the area is back in use. Remove all material scraps and debris, and give the surface a final brush to get the fibers standing.
At Turf Tek, we have everything you need to complete a seamless turf installation. From base materials to infill to finished turf rolls, we stock what you need and can help you spec the right materials for your specific project and climate. Contact us to discuss your next installation.